Difference between revisions of "How to 3D Print"
Jump to navigation
Jump to search
(→Final) |
(→Final) |
||
| Line 62: | Line 62: | ||
| − | + | <center> | |
<table style="border:1px solid black;"> | <table style="border:1px solid black;"> | ||
<tr> | <tr> | ||
| Line 71: | Line 71: | ||
</tr> | </tr> | ||
<tr> | <tr> | ||
| − | <td style="border:1px solid red;">Table cell 3</td><td style="border:1px solid red;">Table cell 4</td> | + | <td style="border:1px solid red;">Table cell 3</td><td align="center" valign="top"; style="border:1px solid red;">Table cell 4</td> |
</tr> | </tr> | ||
</table> | </table> | ||
| + | </center> | ||
Revision as of 13:20, 16 March 2021
| Important Documents |
| 3D Printer Manual |
| PLA Filament MSDS |
| ABS Filament MSDS |
| UConn EHS 3D Printer Approval |
| [| Ben's Logbook] |
How to use the 3D Printer in lab 419
Setting up print files
The Autodesk Inventor Fusion software converts drawings to .stl files that can be 3D printed. To convert a drawing, open it with Inventor Fusion and follow the steps shown below.
File:3D 1.jpg
Figure 2: Click on the slanted letter I in the top left corner.
File:3DPrinterPic.png
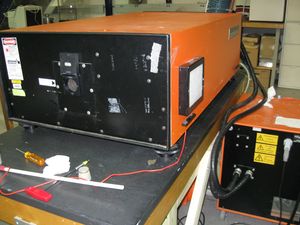
Figure 1: The 3D printer used in lab 419.
Text text ([1]) text text.
Next
xxxxxx
xxxxxx
Final
xxxxxxxxxxxxx
| Table Header | Table Header |
|---|---|
| Table cell 1 | Table cell 2 |
| Table cell 3 | Table cell 4 |
| Month | Date |
|---|---|
| March | 10.09.2018 |
| June | 18.07.2018 |
| Table Header | Table Header |
|---|---|
| Table cell 1 | Table cell 2 |
| Table cell 3 | Table cell 4 |
